One of my favourite details to draft is a twist detail. Not only do twist sewing patterns and details look impressively complex and beautiful, but it’s also super easy to create!
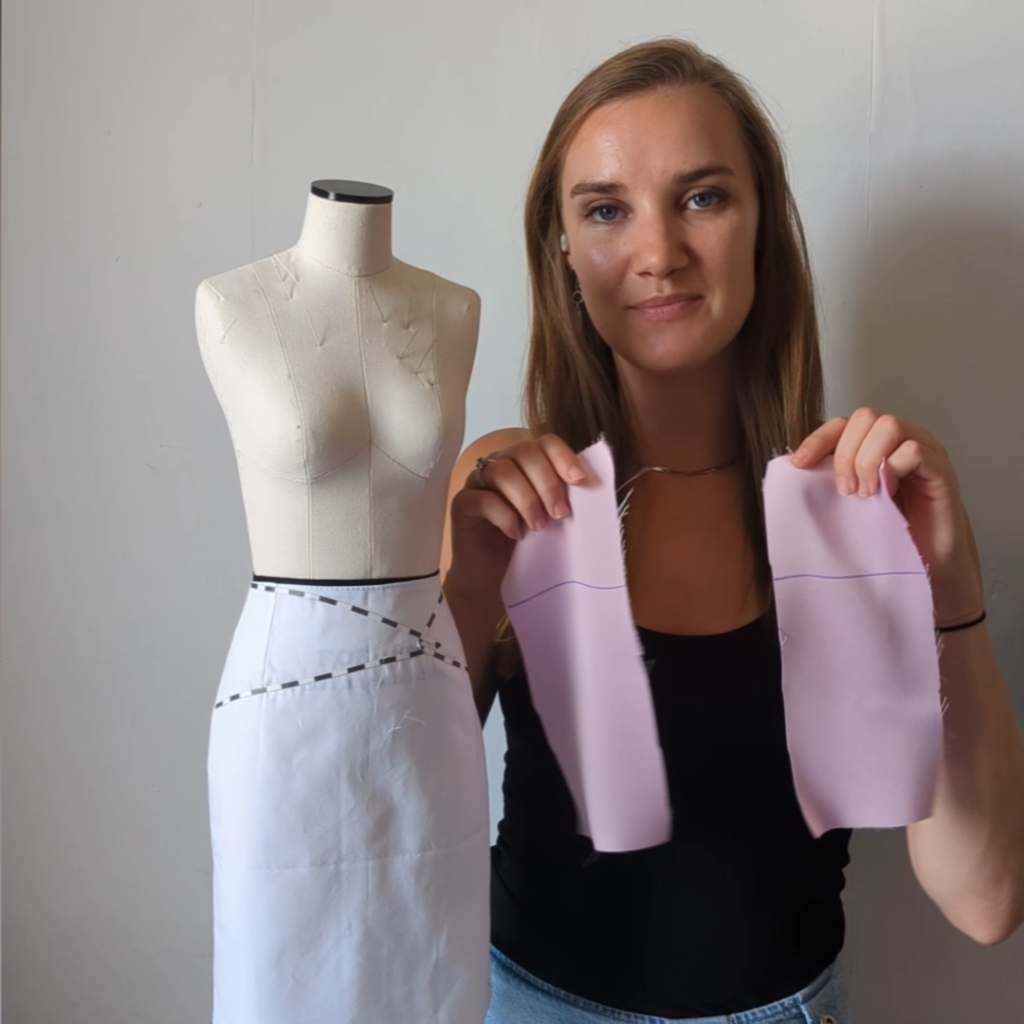
Twists like these, in their most simple form, are just two strips of fabric looped around each other. We can take that idea and elevate it into more complex designs and sewing patterns by growing the twist onto a bodice or skirt pattern piece, but the basic idea remains the same…it’s two pieces of fabric looped around each other.
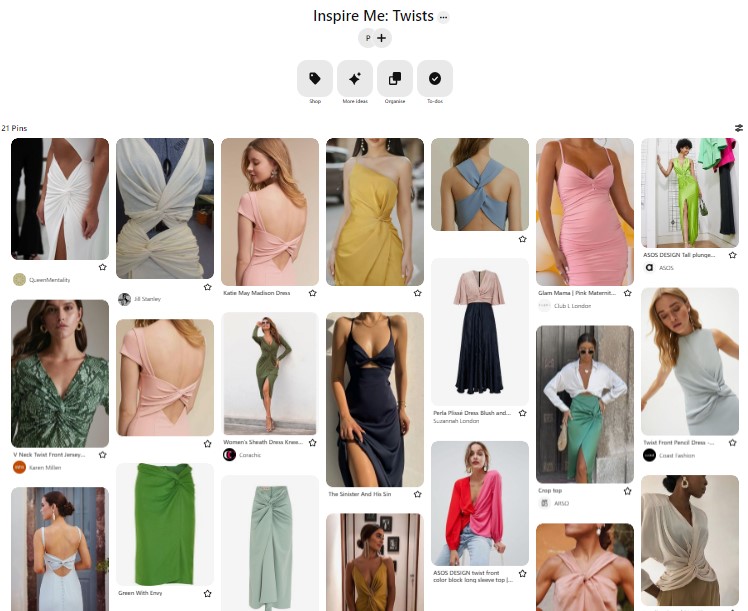
Let’s look at some examples of twist sewing patterns and their varying skill levels below.
Twisted Detail
Skill level: Beginner
Pattern:
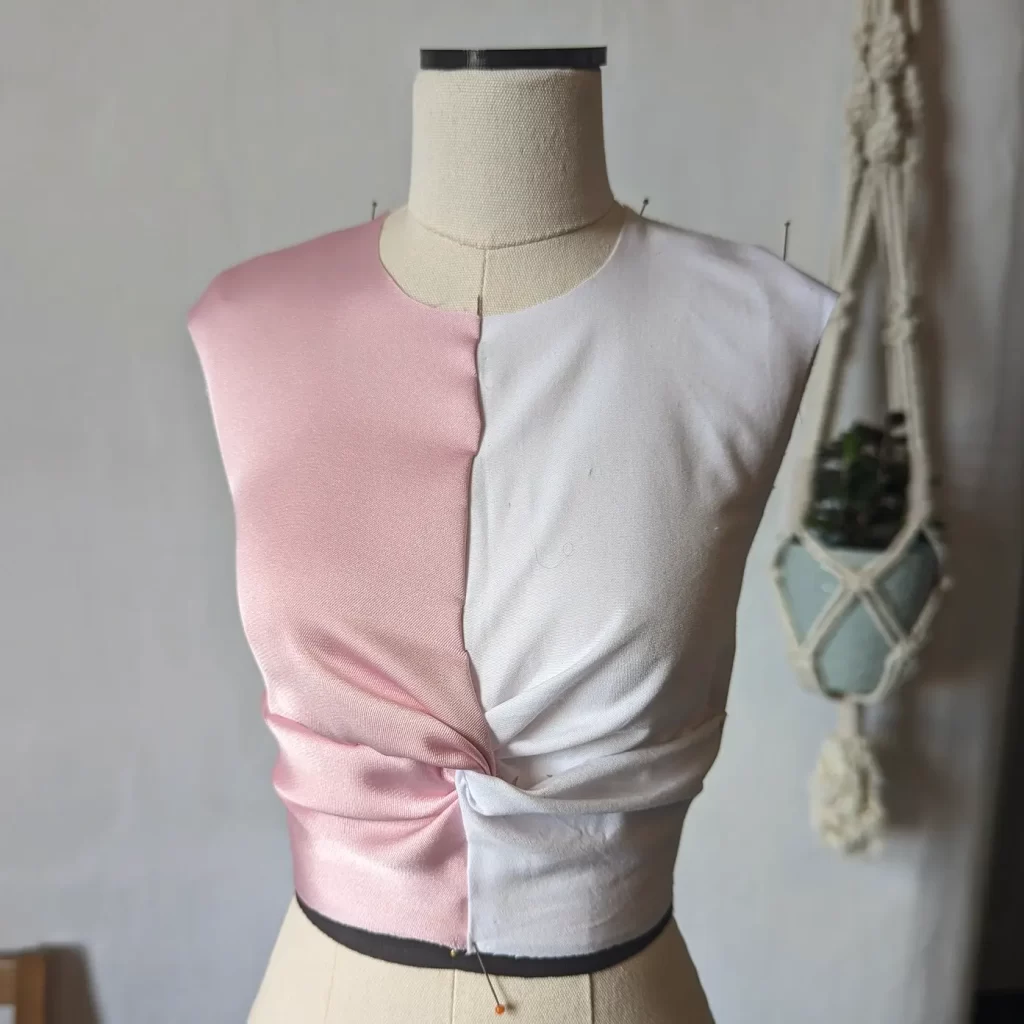
Partial Bodice Twist
Skill level: Beginner
Pattern:
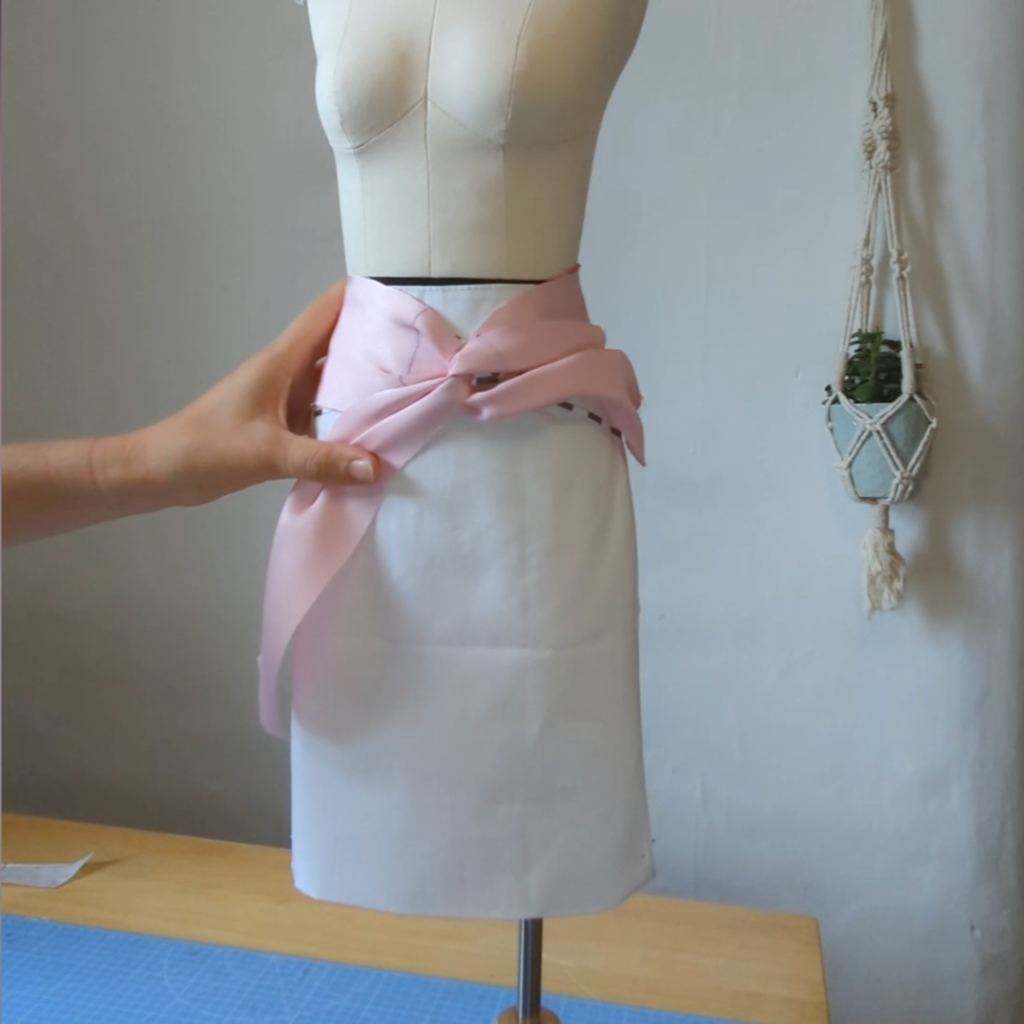
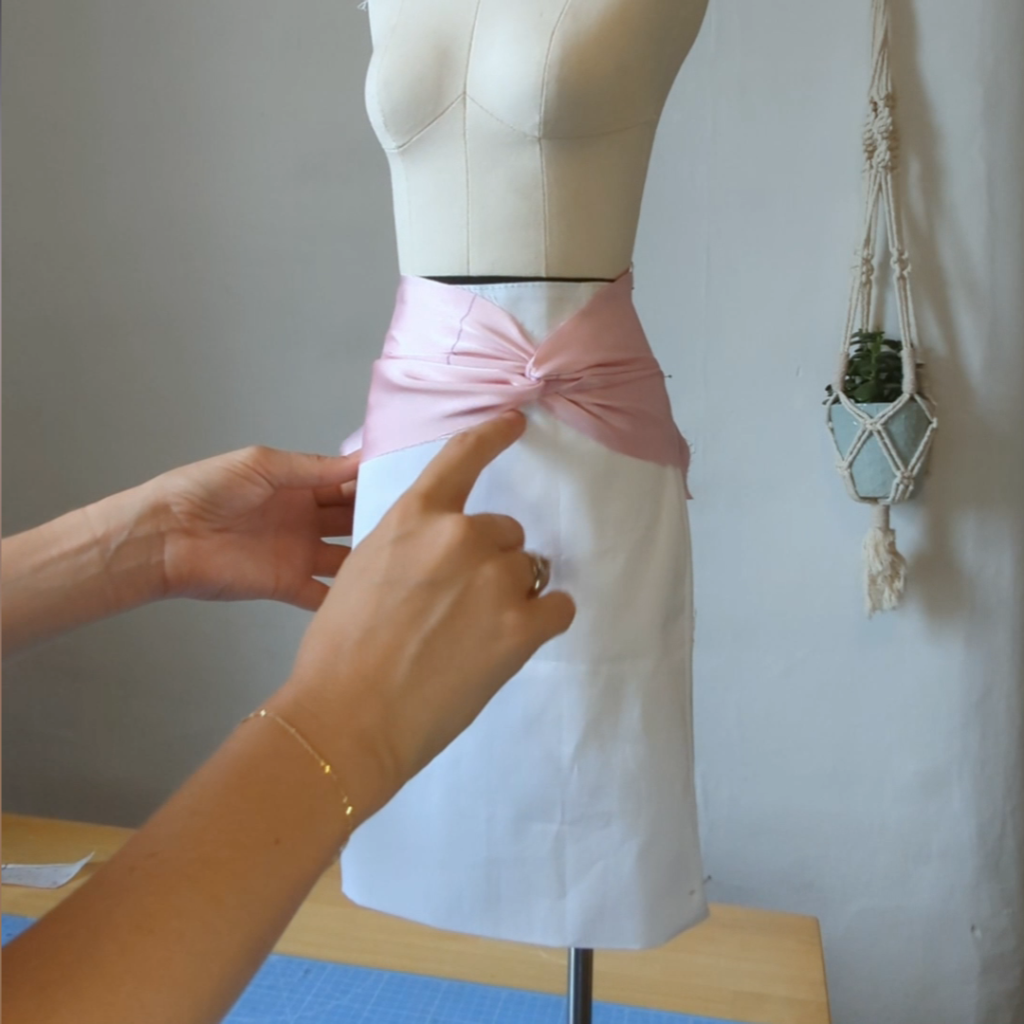
Waist Dress Twist
Skill level: Intermediate
Pattern:
Full Bodice Twist
Skill level: Intermediate
Pattern:
Every month I pick a topic and deep dive into it over my social media channels.
August’s topic was Twist Sewing Patterns. You can find the full tutorials on my Youtube playlist here, or watch the videos below.
For the mini tutorials and shorter videos head over to my Instagram page.
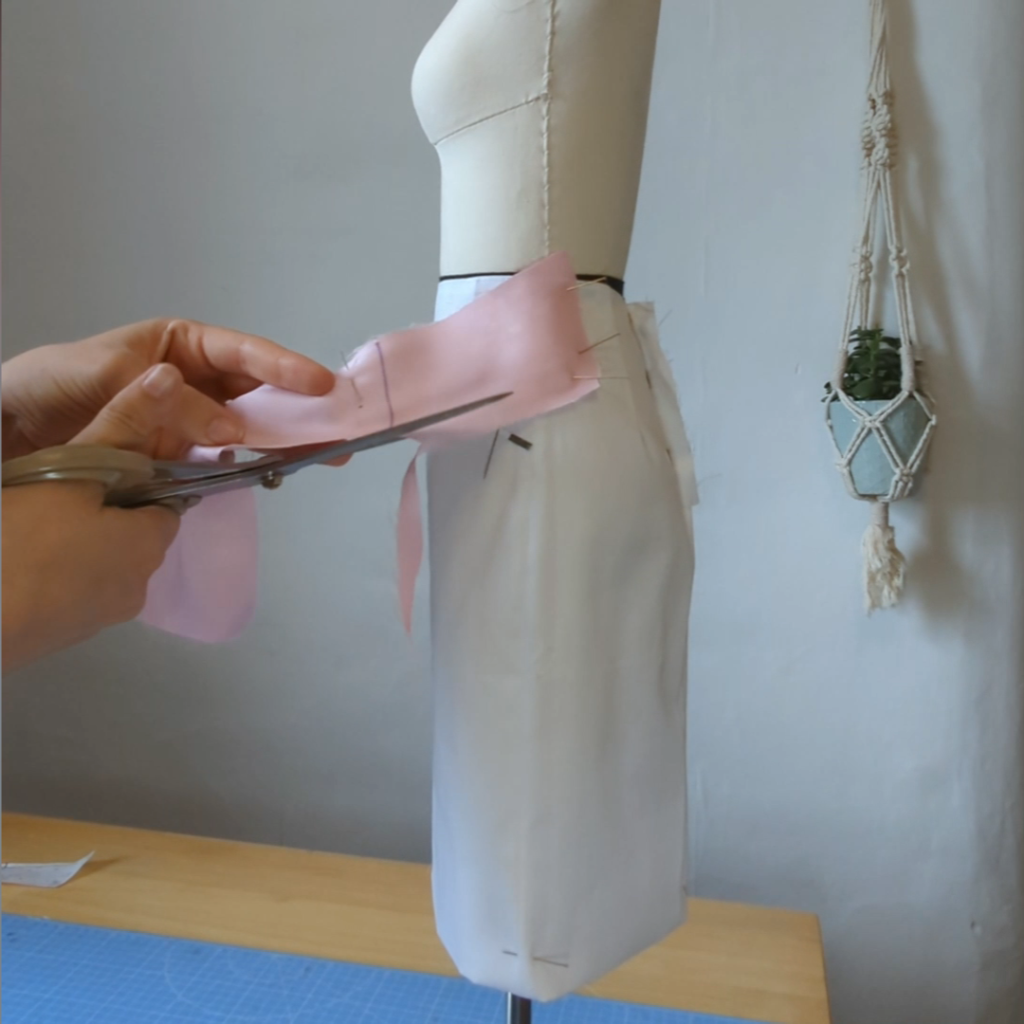
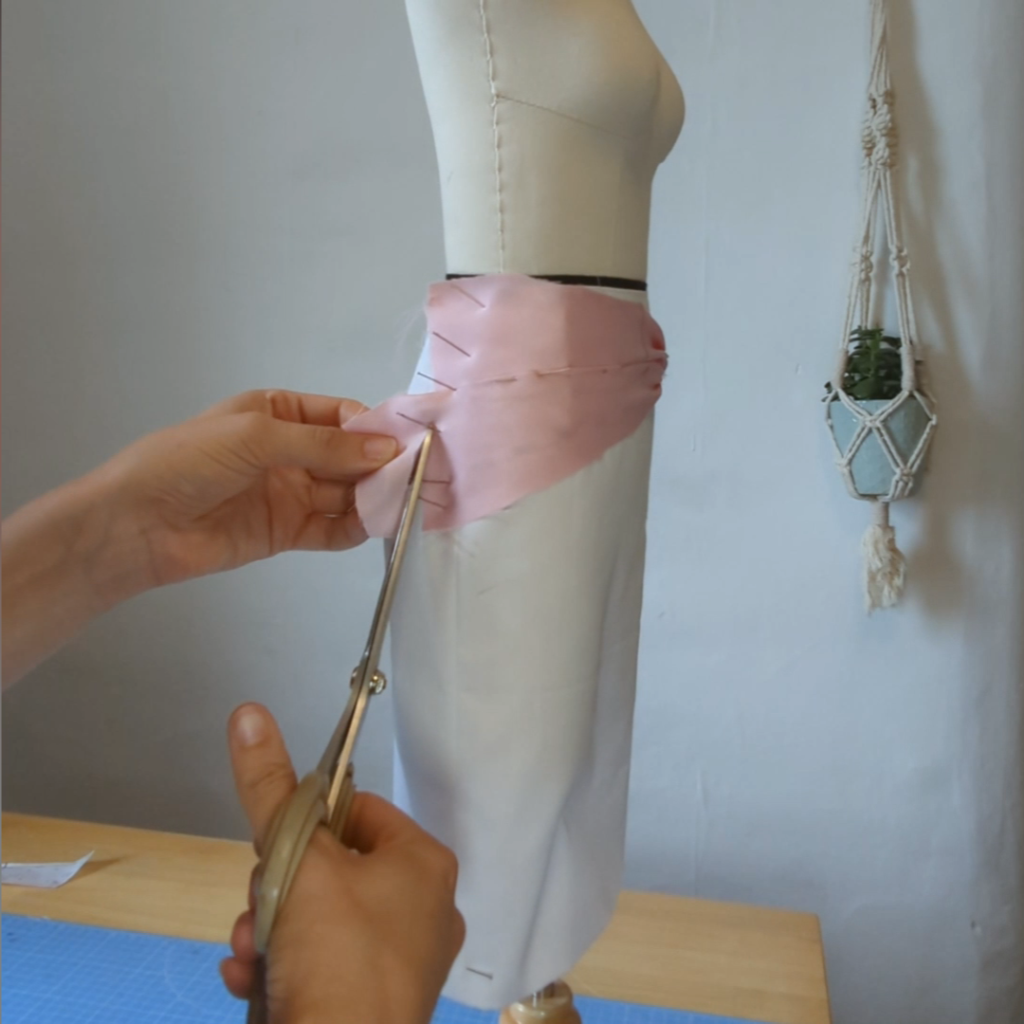
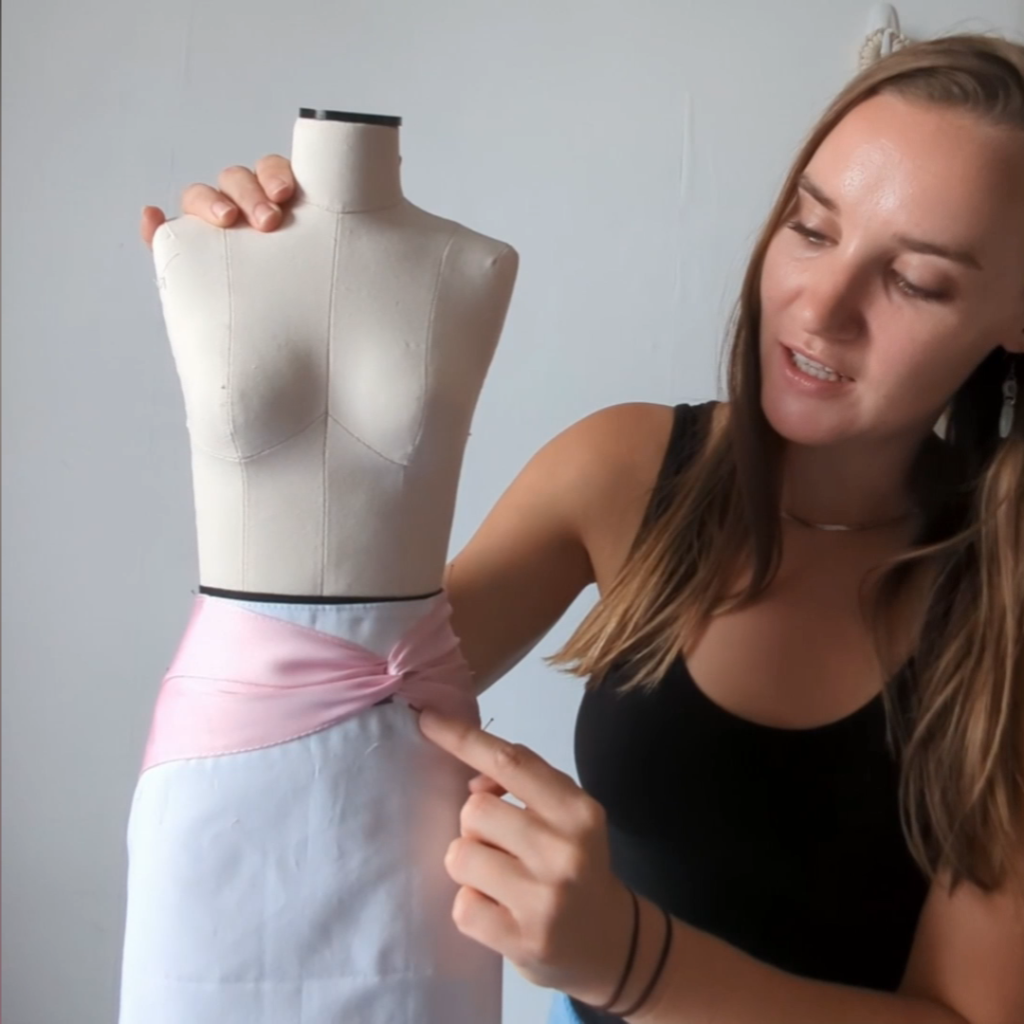
Draping a Twisted Detail Sewing Pattern
Twist sewing patterns are one of those lovely details that we can create with both flat pattern cutting and draping.
I prefer to create smaller details by draping them over the garment that I want to add them to, and larger garments by using flat pattern cutting.
Draping VS. Flat Pattern Cutting
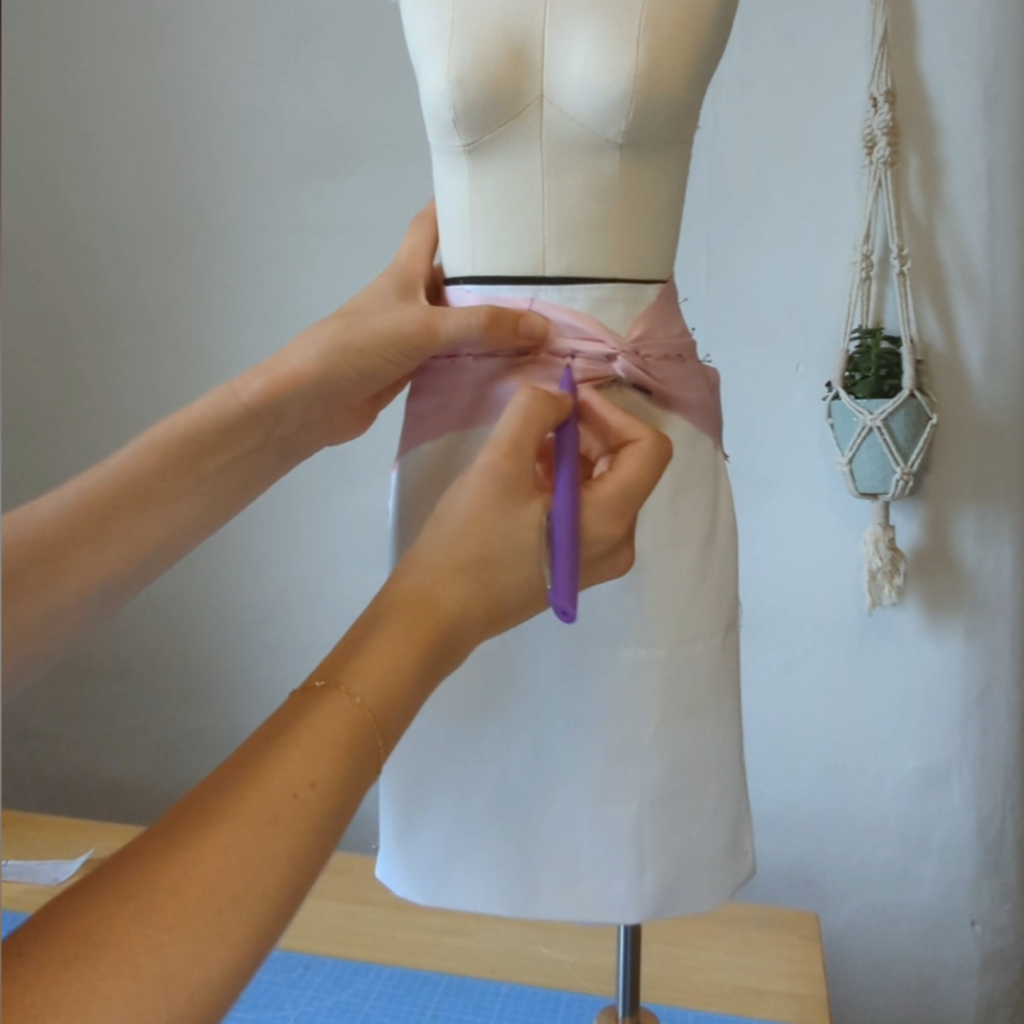
Draping
Good for smaller details.
Useful to drape rather than create flat if your fabric is unusual or tricky to work with.
Very intuitive and creative.
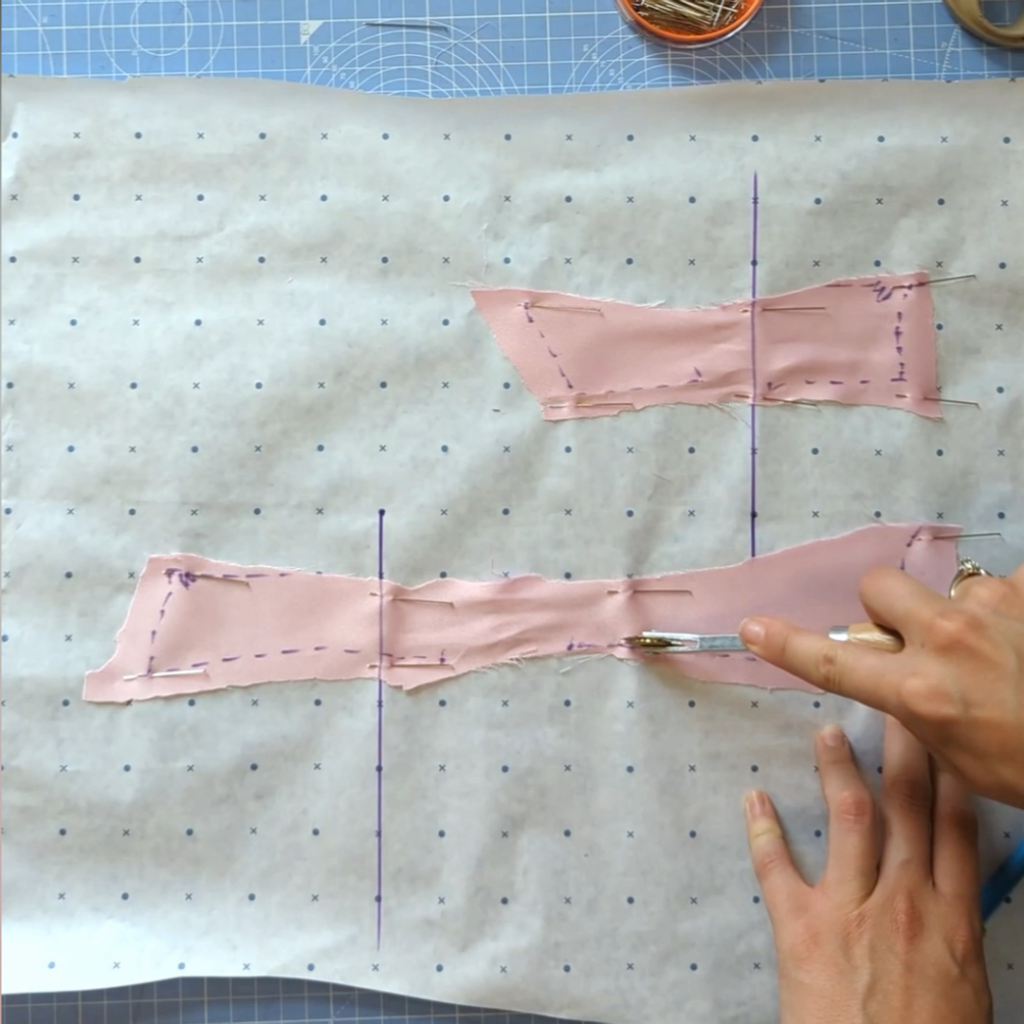
Flat Pattern Cutting
I prefer to use it for larger pieces if I need armholes, waists or specific necklines on my pattern.
It can be quicker if you know your fabric well and how much volume you need to add.